
Replacing a truck bumper involves unbolting the old bumper, prepping the frame, and securely mounting the new assembly. Imagine driving your commercial rig on a remote northern route when a sudden wildlife strike smashes your fragile factory plastic grille, leaving you stranded with a cracked radiator. The engine quickly overheats, towing costs skyrocket, and your high-value cargo is delayed, costing your logistics business thousands of dollars in downtime and ruined contracts. You can easily complete a professional truck bumper installation using basic workshop tools and the right procedural approach.
Why Is Truck Bumper Installation Essential?
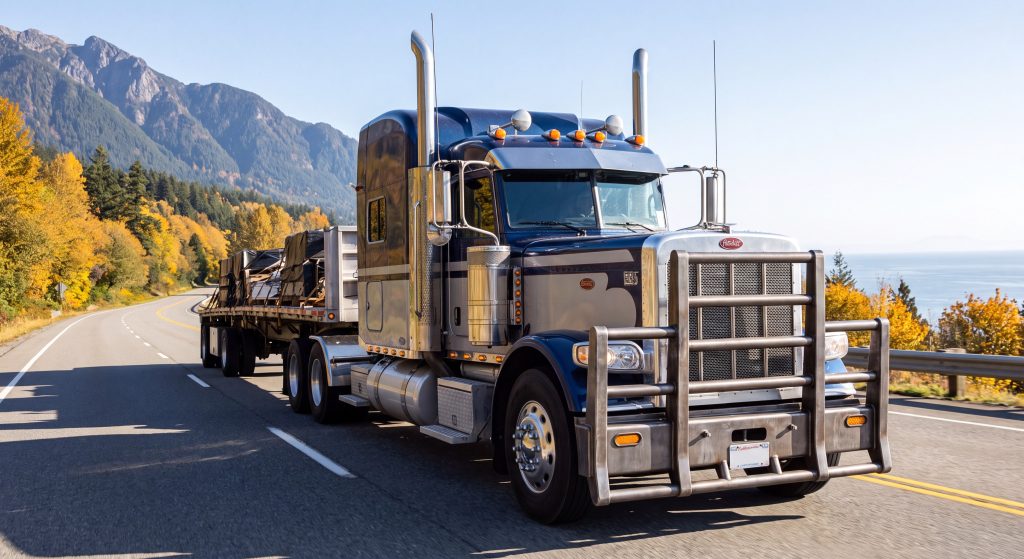
A proper truck bumper installation is essential because it provides robust front-end defense against wildlife collisions, protecting your radiator and core engine parts. By upgrading from factory plastic to high-strength steel, you build a lasting shield for critical engine components.
When you navigate rough logging routes or high-speed highways, your vehicle faces constant threats from road debris and sudden impacts. Upgrading to a heavy-duty steel assembly ensures that your truck absorbs collisions without sustaining structural frame damage. This proactive upgrade keeps your drivers safe and your logistics fleet operating smoothly without interruptions.
Is OEM Protection Insufficient?
Standard plastic bumpers offer virtually zero impact resistance during a high-speed collision on remote commercial routes. You will find that standard factory guards crumple easily, transferring the force of the strike directly into your radiator and cooling system.
Think about it:
A single animal strike can easily write off a fleet vehicle if your frame horns get severely twisted. Upgrading to a premium steel setup completely eliminates this risk.
How Steel Shields Your Assets
Heavy-gauge steel bumpers act as an armored shield that absorbs and dissipates extreme collision forces. You can protect your valuable fleet assets and prevent costly mechanical repairs by utilizing rigid mounting plates.
- Guarantees maximum protection for the radiator and intercooler.
- Prevents structural frame damage during wildlife strikes.
- Provides secure mounting points for commercial tow hooks.
Key Takeaway: Upgrading to heavy-duty steel ensures that your fleet remains safe, preventing catastrophic mechanical failures and reducing overall operational downtime.
| Protection Type | Material Grade | Impact Resistance | Fleet Benefit |
|---|---|---|---|
| Factory OEM | Thin Plastic | Extremely Low | Minimal safety |
| Heavy-Duty Steel | Premium Plate | High-Impact Absorption | Zero downtime |
Comparing these protection levels highlights the immediate need to gather the correct tools for your upcoming upgrade.
What Tools Support Truck Bumper Installation?
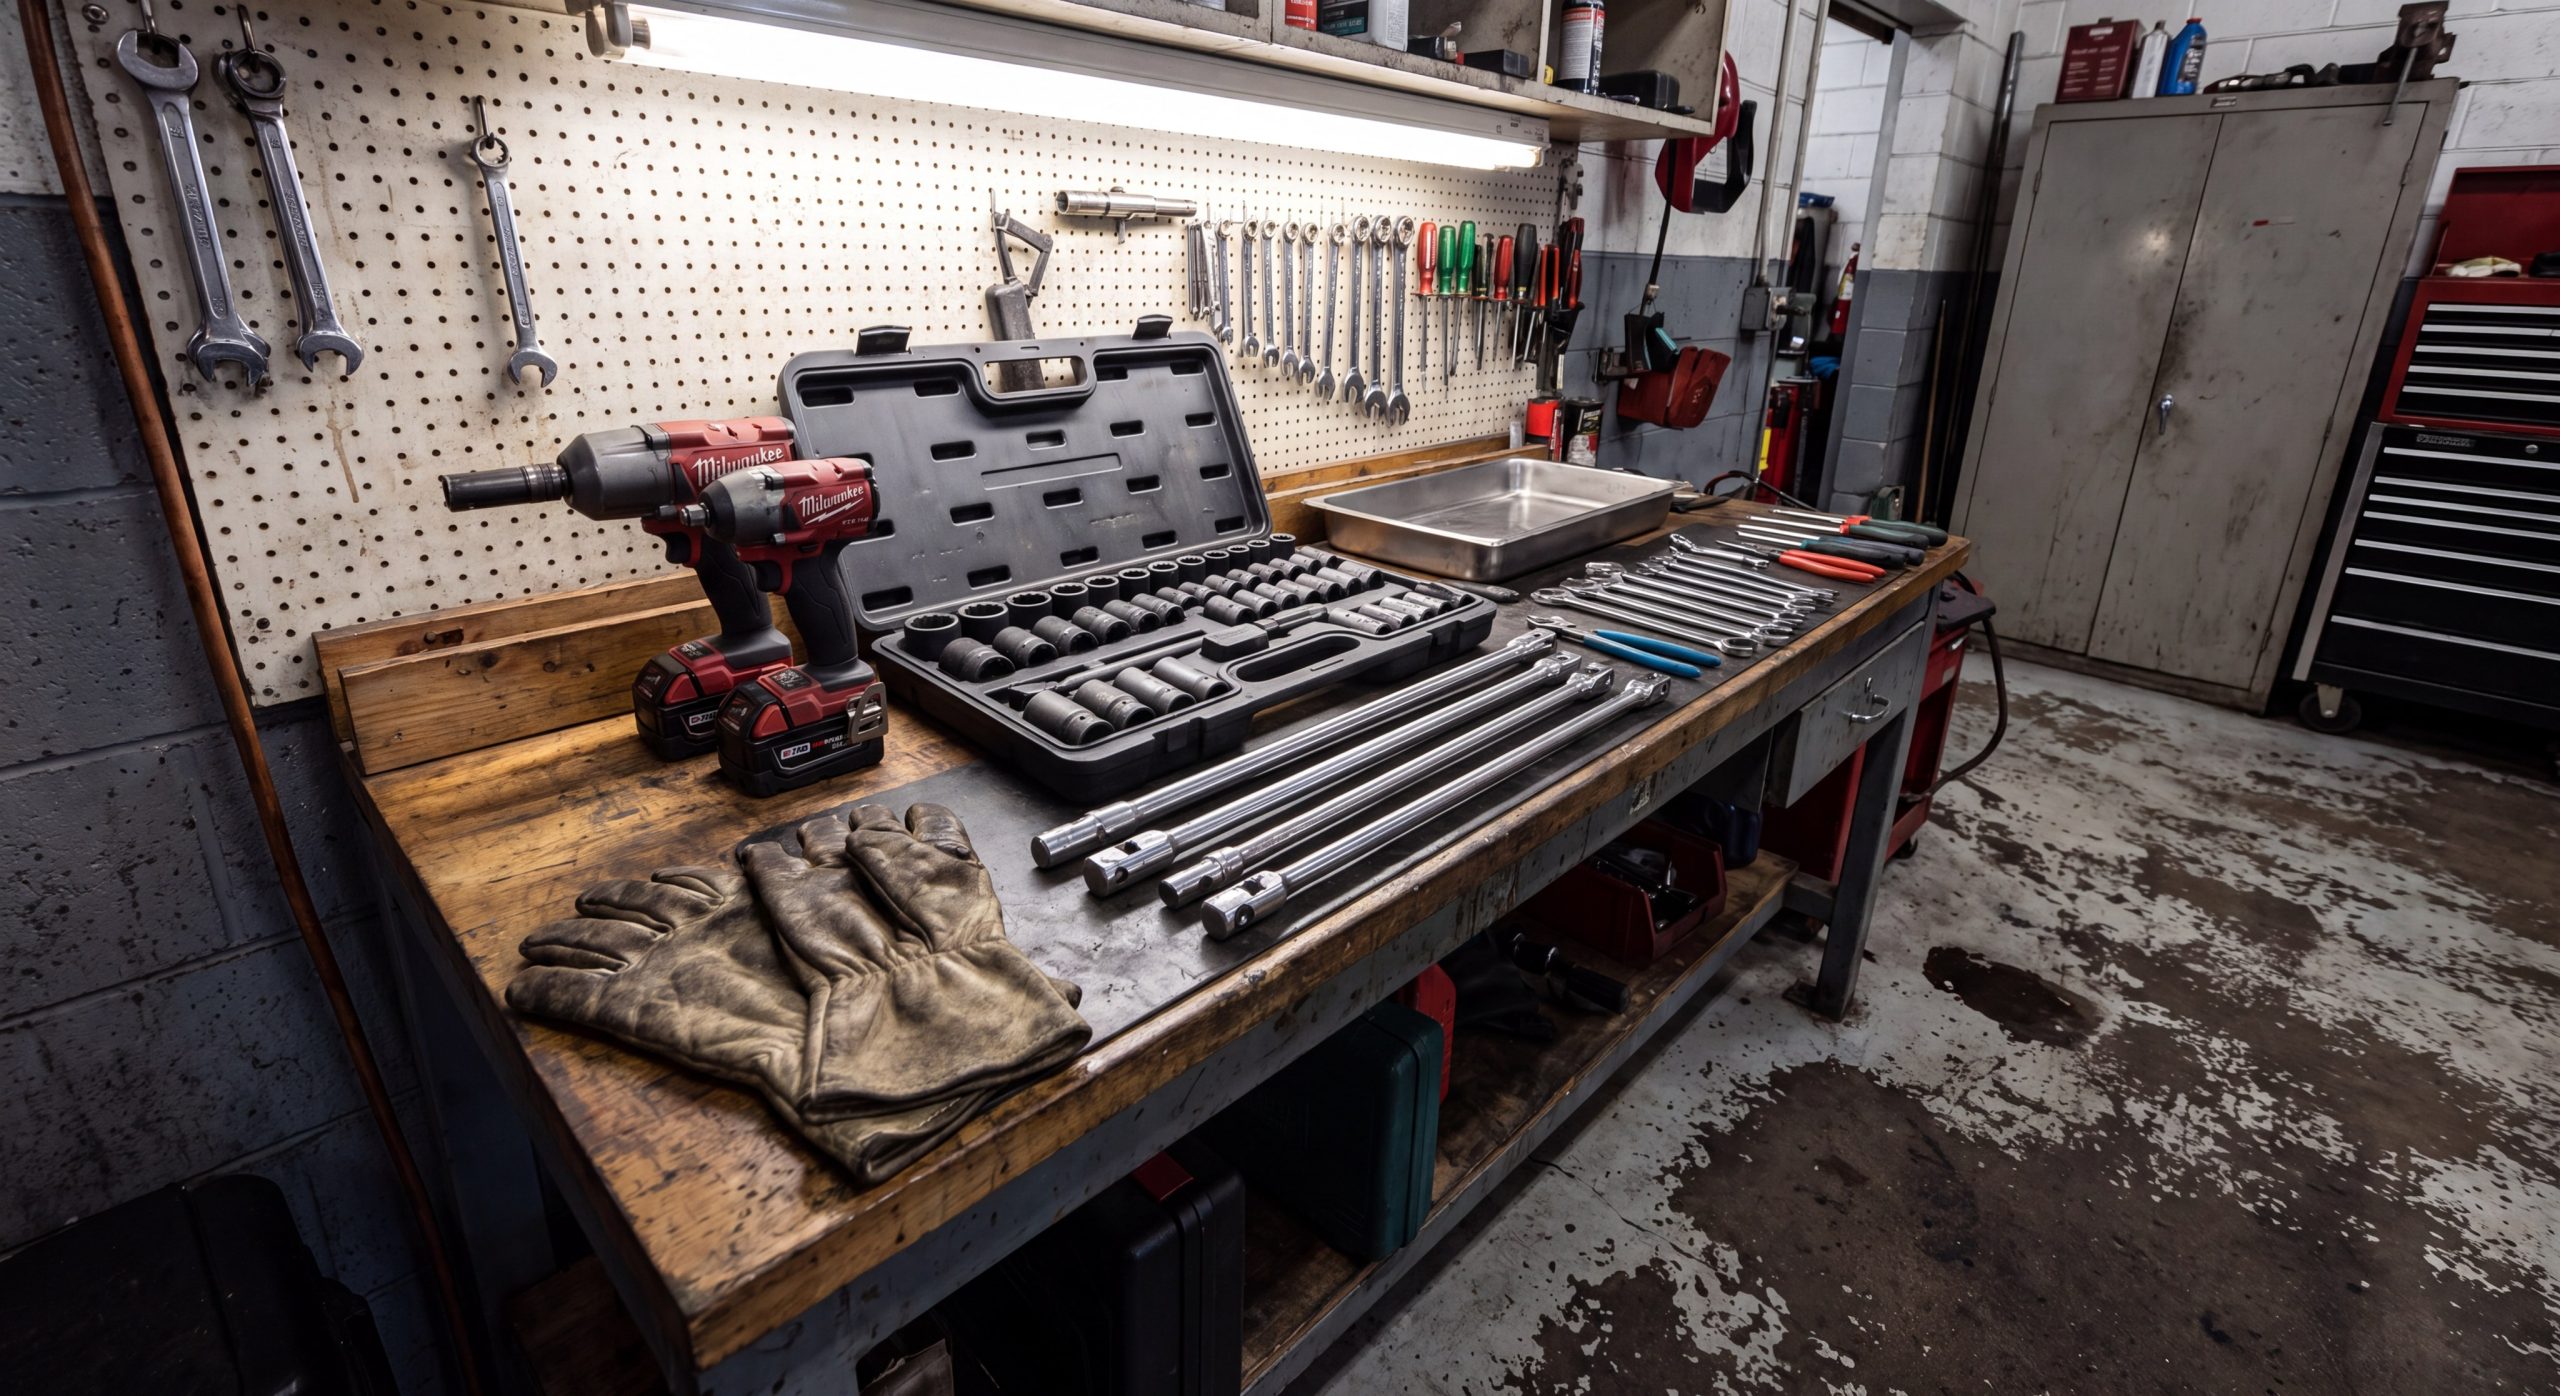
To complete this task, a high-quality truck bumper installation requires a metric socket set, a high-torque impact wrench, and proper hydraulic lifting equipment. Having the correct tools on hand prevents unnecessary delays and keeps your workspace safe.
You must prepare your workshop with the proper mechanical gear before attempting to unbolt the heavy steel structures. Having the correct tools prevents stripped frame bolts and makes aligning the heavy replacement guard much simpler. Investing in professional-grade tools ensures your safety throughout this intensive automotive process.
Which Socket Sizes Do You Need?
You will need a range of standard and metric sockets to handle the varying fasteners on your truck frame. Sockets from 10mm up to 24mm are standard for most heavy-duty vehicle platforms.
- Standard 10mm to 24mm socket sets.
- High-torque pneumatic or battery impact wrench.
- Heavy-duty breaker bar for rusted fasteners.
Why Is Lifting Gear Necessary?
Heavy-duty steel replacements weigh several hundred pounds and cannot be lifted by a single person safely. You must use reliable jacks and stands to stage the bumper precisely during the mounting phase.
Here is the catch:
Attempting to lift these units without a hydraulic floor jack or shop crane risks serious physical injury. Using proper mechanical lifting aids makes the alignment process simple and safe.
Key Takeaway: Equipping your garage with high-torque impacts and hydraulic jacks ensures a fast, precise, and injury-free installation.
| Tool Category | Essential Item | Primary Function | Workshop Benefit |
|---|---|---|---|
| Hand Tools | Metric Sockets | Removing OEM bolts | Prevents stripping |
| Lifting Aids | Floor Jacks | Staging heavy steel | Hands-free alignment |
Once you have organized your toolkit, preparing the physical workspace is your next critical step.
How to Prep for Truck Bumper Installation?
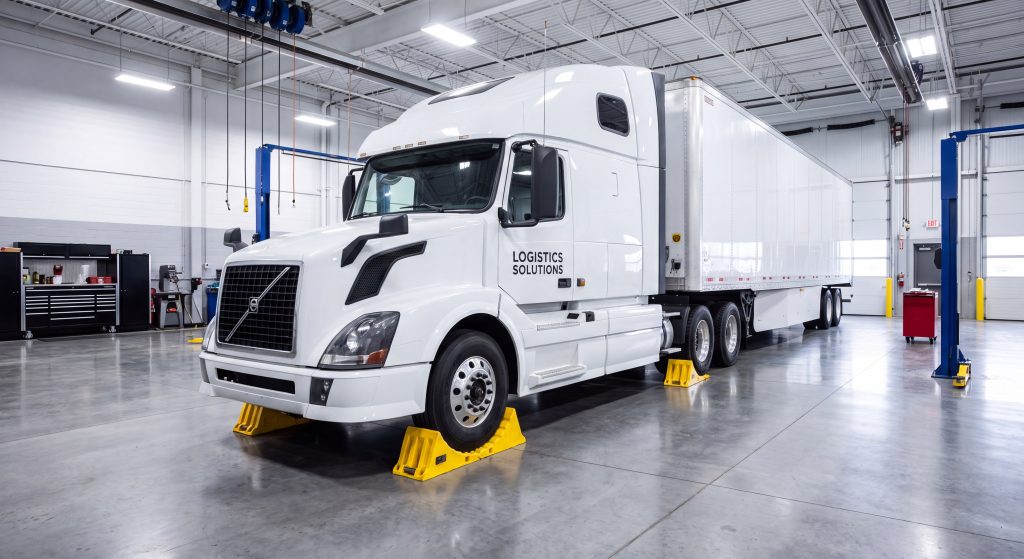
Preparing for a truck bumper installation involves securing your vehicle on a flat surface, engaging the parking brake, and disconnecting the negative battery cable. Proper preparation ensures that your workspace remains completely secure.
You must guarantee that your vehicle cannot roll or shift during the mechanical teardown process. Proper vehicle staging is the foundation of workshop safety and prevents catastrophic accidents. Taking these simple steps protects both your physical safety and your truck’s sensitive electrical systems.
How to Secure the Vehicle?
You should park your vehicle on a level concrete floor and slide heavy rubber wheel chocks behind the rear tires. This simple action prevents any accidental rolling while you work directly underneath the front chassis.
But wait, there is more:
You must also engage your emergency brake to lock the transmission securely in place before crawling underneath.
Why Cut the Electrical Power?
Modern commercial trucks feature integrated parking sensors and front-facing cameras that connect to the main computer. Disconnecting the negative battery cable protects these delicate electronic modules from short-circuits during the swap.
- Disconnect the negative battery terminal with a 10mm wrench.
- Isolate the loose battery cable to prevent accidental contact.
- Wait five minutes to allow the electrical system to drain fully.
Key Takeaway: Taking five minutes to choke your wheels and disconnect the battery safeguards your life and protects delicate on-board computer networks.
| Prep Action | Potential Risk | Corrective Tool | Safety Benefit |
|---|---|---|---|
| Chocking Wheels | Truck rolling | Rubber wheel chocks | Prevents crush injuries |
| Battery Disconnect | Electrical short | 10mm open-end wrench | Protects vehicle sensors |
With your vehicle safely isolated and powered down, you can safely proceed to the removal of your factory hardware.
How to Begin Your Truck Bumper Installation?
To start your truck bumper installation, you must carefully unplug all sensor wiring harnesses, remove the lower splash shields, and unbolt the factory brackets. Successfully executing a clean tear-down is required before mounting your new heavy-duty hardware.
You must execute the teardown carefully to avoid tearing fragile electrical lines or stripping frame threads. Supporting the old bumper before removing the main mounting bolts is critical to prevent sudden falling hazards. Taking your time during this step ensures your factory sensors remain fully intact for the new assembly.
How to Unplug Sensor Harnesses?
You will locate the main electrical harness on the inside of the factory bumper shell. Gently press the plastic release tabs to disconnect the plugs without snapping the fragile locking clips.
- Squeeze the integrated plastic locking tab.
- Pull the connectors apart slowly to avoid pulling wires.
- Tie the loose wire harness back to the frame with zip ties.
Unbolting the Factory Bumper
You must place support jacks under the factory bumper before removing the primary mounting hardware. Use your impact wrench to back out the frame bolts on the driver and passenger sides.
Think about it:
A heavy factory bumper can drop suddenly, causing severe damage to your feet or your shop floor if not supported. Slide the loosened bumper off the frame horns and set it aside.
Key Takeaway: Safely unbolting the factory shell and disconnecting the wiring harness preserves your expensive OEM sensors and prevents physical accidents.
| Removal Step | Common Challenge | Recommended Solution | Tool Needed |
|---|---|---|---|
| Unplugging Harness | Sticky locking clips | Precision flathead screwdriver | Hands-on care |
| Frame Bolt Removal | Rusted frame threads | Penetrating lubricating oil | Power impact wrench |
Now that the factory bumper is out of the way, you can fit the new heavy-duty mounting brackets.
How to Mount Brackets in Truck Bumper Installation?
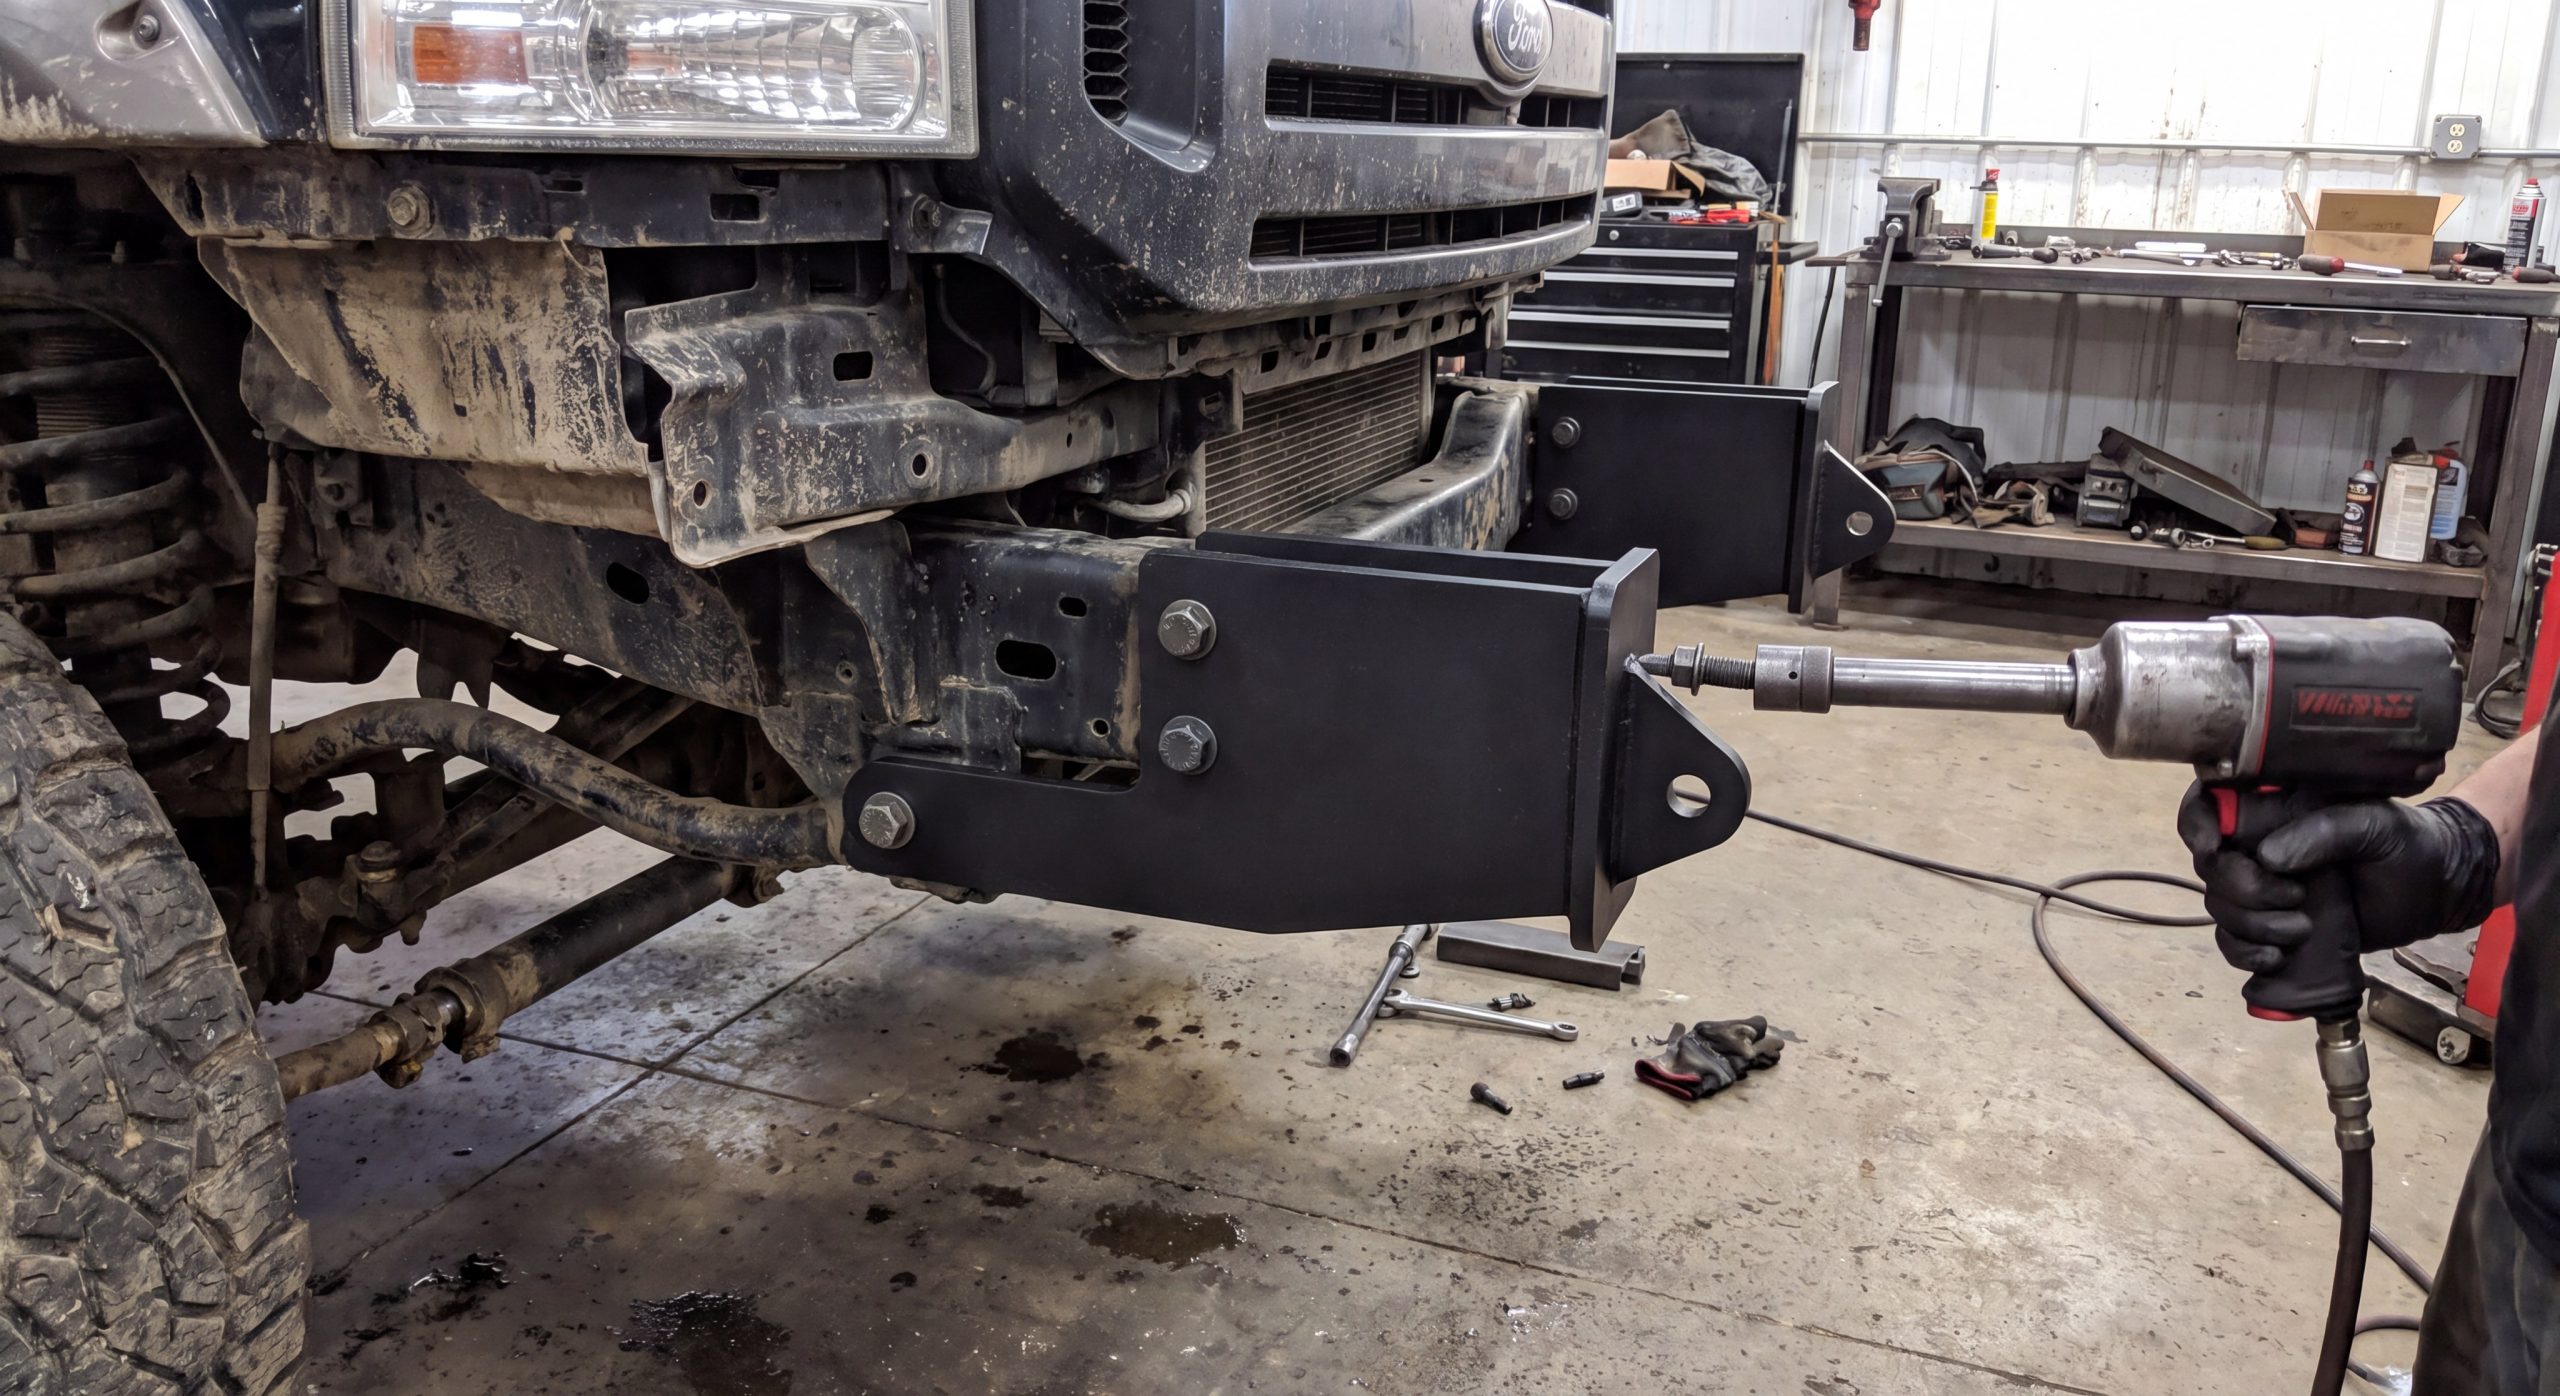
Mounting the brackets during a truck bumper installation requires sliding the new steel plates over your frame horns and securing them with the provided high-grade bolts. These plates serve as the primary load-bearing foundation for your new front-end protection.
You must ensure that all mating surfaces are completely free of dirt, rust, and welding slag before bolting. These heavy-duty brackets serve as the structural link between your truck frame and the new bumper. Correctly positioning these brackets determines the ultimate levelness and fitment of your finished guard.
How to Align Frame Horns?
You should slide the heavy-duty bracket plates directly over the truck’s frame rail ends. Align the pre-drilled holes in the bracket with the corresponding mounting holes in your frame.
Here is the catch:
If the frame rail ends are bent from previous minor accidents, you must straighten them first to ensure proper bracket seating.
Why Keep Hardware Hand-Tight?
You must leave the bracket bolts hand-tight during this initial assembly phase. Tightening them fully now will prevent you from making minor alignment adjustments later when staging the main bumper.
- Hand-thread all bolts to prevent cross-threading.
- Install heavy washers on both sides of the frame.
- Leave a small amount of play for lateral adjustments.
Key Takeaway: Keeping your bracket bolts hand-tight initially ensures that you have the lateral adjustment needed to center your new bumper perfectly.
| Bracket Step | Target Area | Bolt Tension | Adjustment Level |
|---|---|---|---|
| Plate Staging | Frame rail ends | Finger-tight only | Maximum flexibility |
| Bracket Pinning | Frame horn sides | Snug with wrench | Minor sliding movement |
With your brackets hand-snug and adjustable, you are ready to prepare your heavy-duty steel bumper for staging.
How to Stage a New Truck Bumper Installation?
Staging a new truck bumper installation requires lifting the heavy steel guard onto a hydraulic floor jack, aligning the mounting slots, and securing the main fasteners. This phase translates raw steel weight into balanced front-end armor.
You must treat the heavy bumper with care to avoid scratching its professional powder-coated finish. Having at least two assistants to steady the sides of the bumper during the lift is highly recommended. Utilizing the proper mechanical support guarantees a controlled, safe alignment process.
How to Protect the Powder Coat?
You should wrap your hydraulic floor jack pad in thick cardboard or a heavy blanket before placing the bumper on it. This simple precaution prevents metal-on-metal scraping that can ruin your new rust-resistant finish.
- Cover all metal lift plates with thick shop towels.
- Leave protective shipping foam on the outer wings.
- Lift from the center of gravity to prevent tilting.
Aligning the Mounting Slots
You must slowly raise the hydraulic jack until the bumper’s mounting plates slide directly onto the brackets. Gently push the assembly forward until the mounting slots line up perfectly with the bracket holes.
But wait, there is more:
You should slide alignment drift pins or long screwdrivers through the holes to lock the bumper in position before inserting the final bolts.
Key Takeaway: Protecting your steel finish and using a jack for micro-adjustments makes staging a heavy-duty bumper incredibly easy and safe.
| Staging Action | Potential Hazard | Protective Measure | Recommended Tool |
|---|---|---|---|
| Jack Staging | Scratched powder coat | Blanket or cardboard padding | Hydraulic floor jack |
| Hole Alignment | Sudden bumper shifting | Drift pins in mounting slots | Steel alignment punch |
Once the bumper is safely held by the mounting bolts, you can transfer your electrical components.
How to Wire Lights for Truck Bumper Installation?
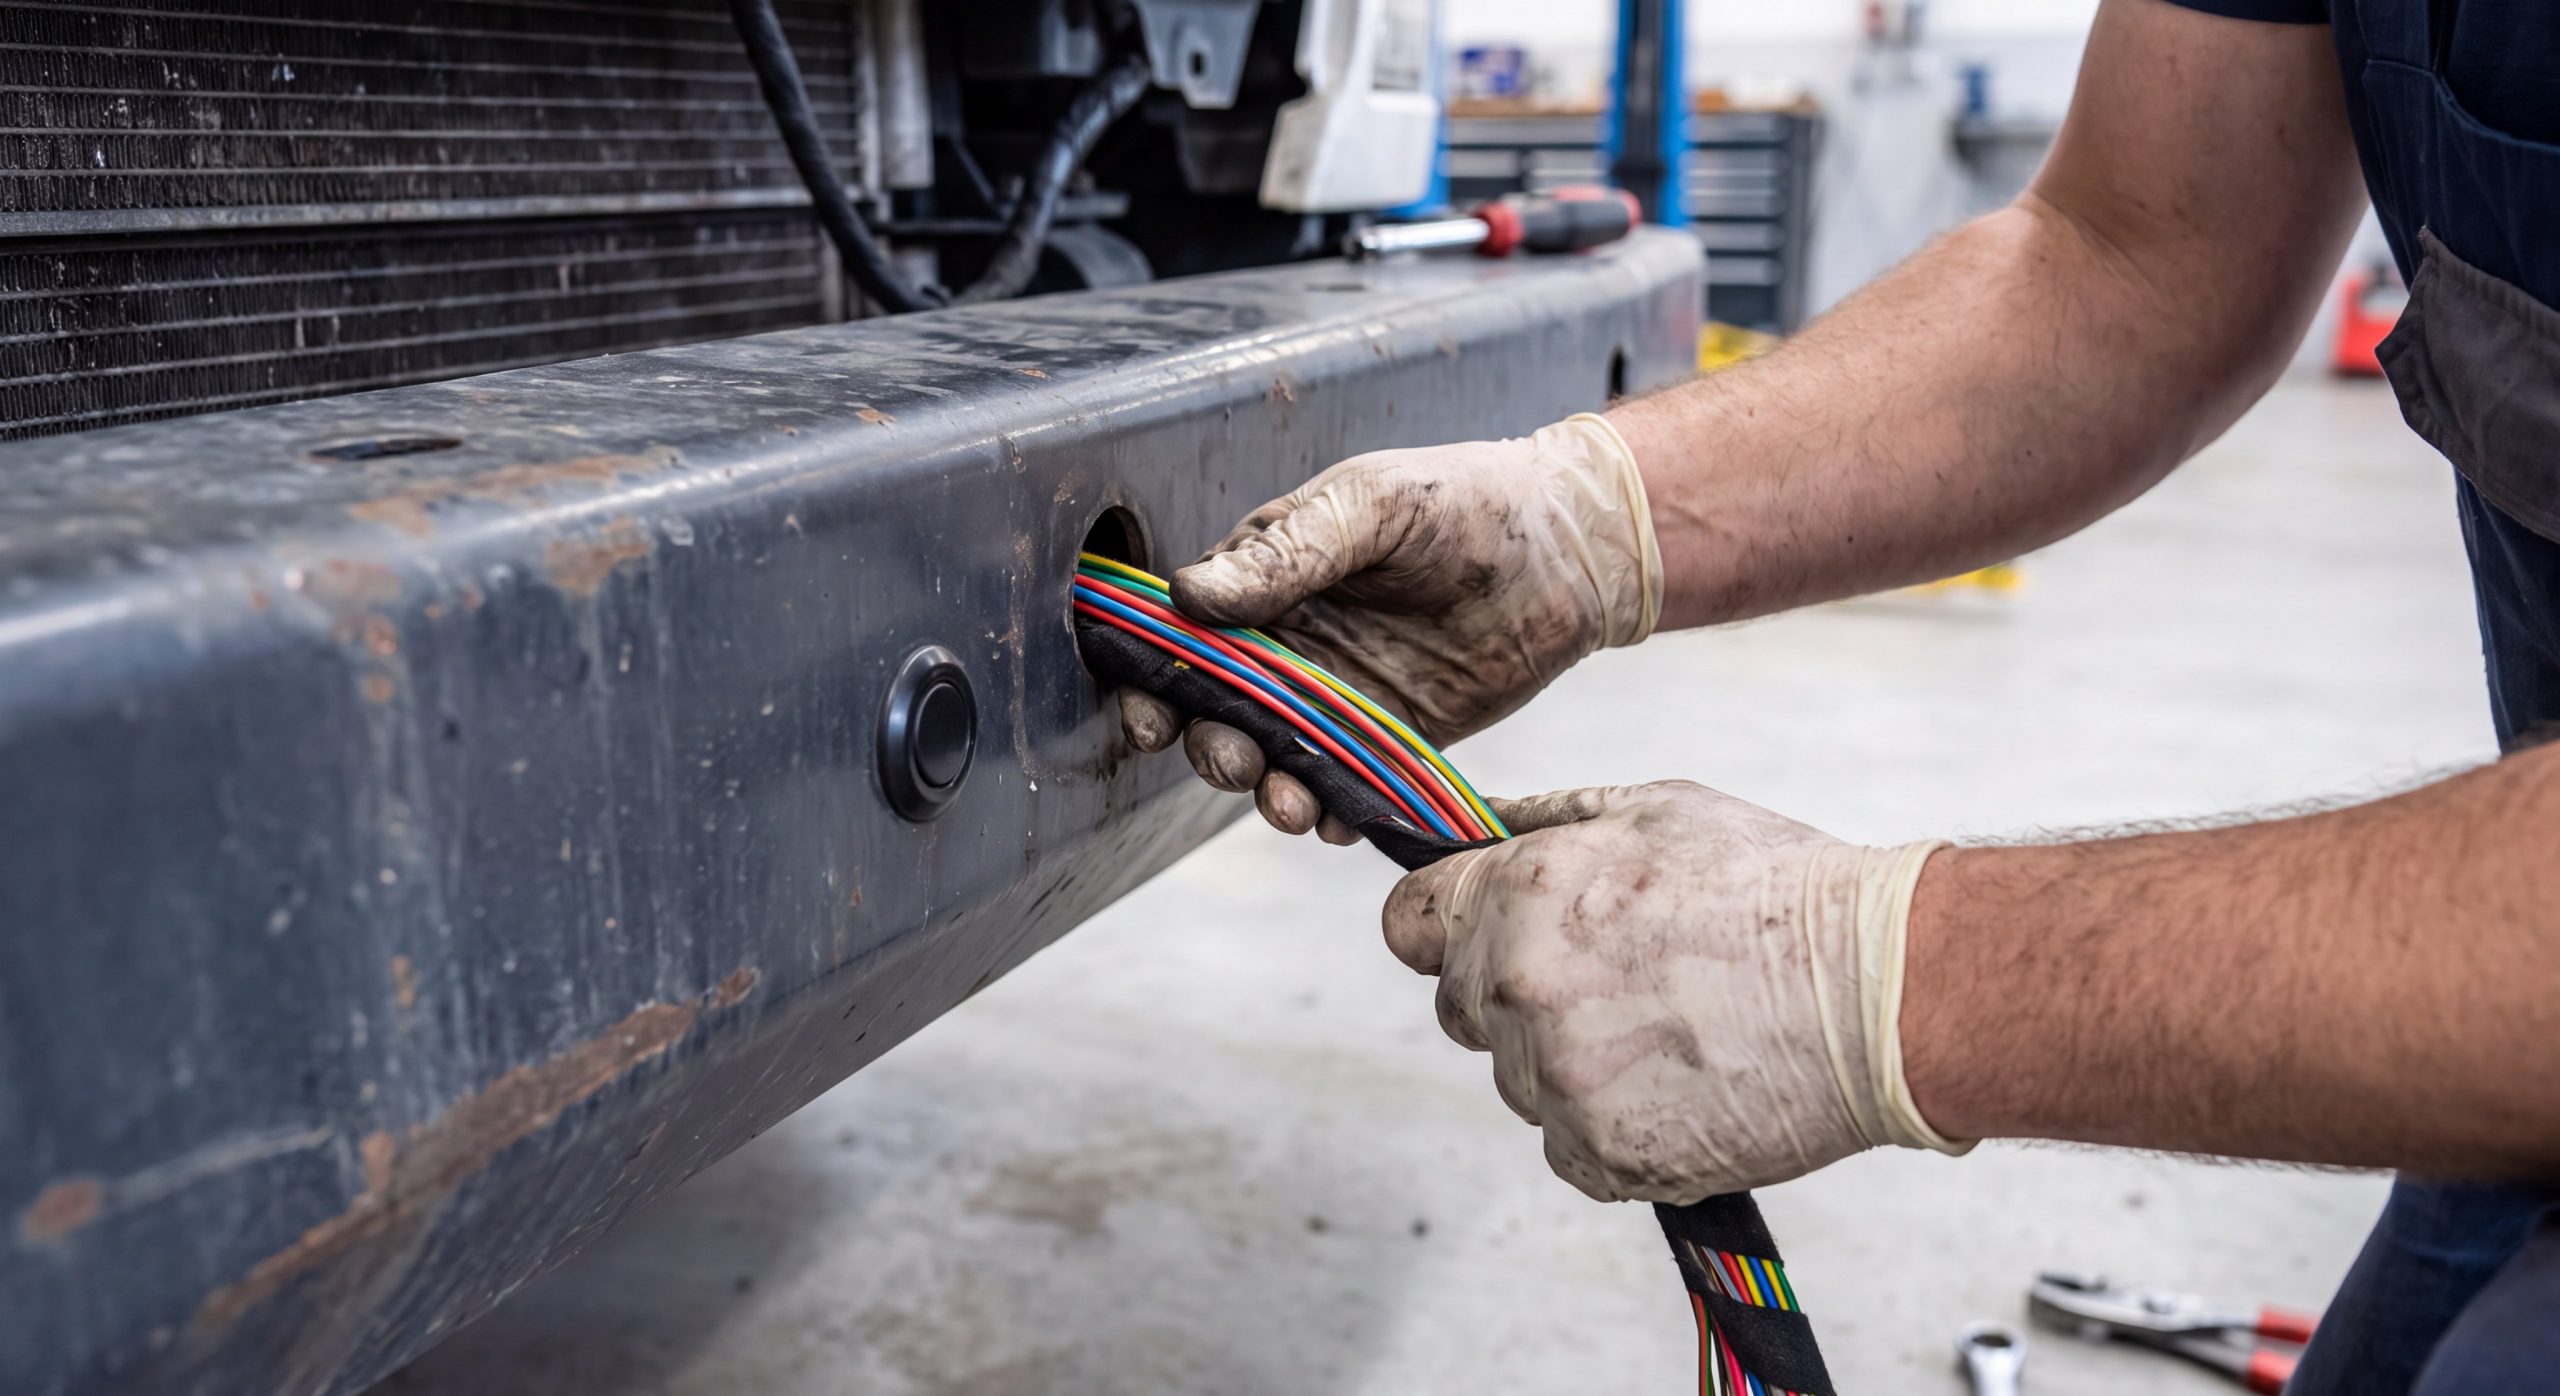
To wire accessories during your truck bumper installation, you must install the factory parking sensors into their rubber grommets and route the wiring harness along the main support beams. This ensures that your truck’s electronic safety features continue to communicate perfectly with your chassis.
You must transfer your OEM fog lights and parking sensors carefully to preserve your truck’s safety features. Correctly routing the wiring harness prevents the lines from rubbing against sharp steel edges or hot engine components. Securing these connections ensures your safety alerts function perfectly once on the road.
How to Relocate Parking Sensors?
You should install the provided rubber grommets into the pre-cut sensor holes on your new steel bumper. Lubricate the grommets lightly before pushing the factory sensors in, keeping them in their original orientation.
- Install rubber grommets into the pre-cut steel holes.
- Slide sensors in gently to avoid cracking the lenses.
- Ensure the sensor face sits perfectly flush with the bumper.
Securing the Wiring Harness
You must route the wiring harness along the internal support channels of your new bumper. Use heavy-duty plastic zip ties to anchor the wire runs tightly, preventing any loose lines from sagging.
Think about it:
A loose wire can easily sag onto hot cooling tubes or get pinched by the steering linkage. Protect your electronics with split loom tubing.
Key Takeaway: Careful sensor transfer and tight harness routing prevent expensive electrical failures and maintain your truck’s active driver assistance systems.
| Accessory Step | Critical Detail | Best Practice | Protection Method |
|---|---|---|---|
| Sensor Mounting | Original orientation | Use rubber grommets | Prevents false alarms |
| Wire Harness Routing | Avoid sharp steel edges | Tightly pull zip ties | Split loom protection |
With your wiring fully secured, you can proceed to the final alignment and leveling adjustments.
How to Align the Truck Bumper Installation?
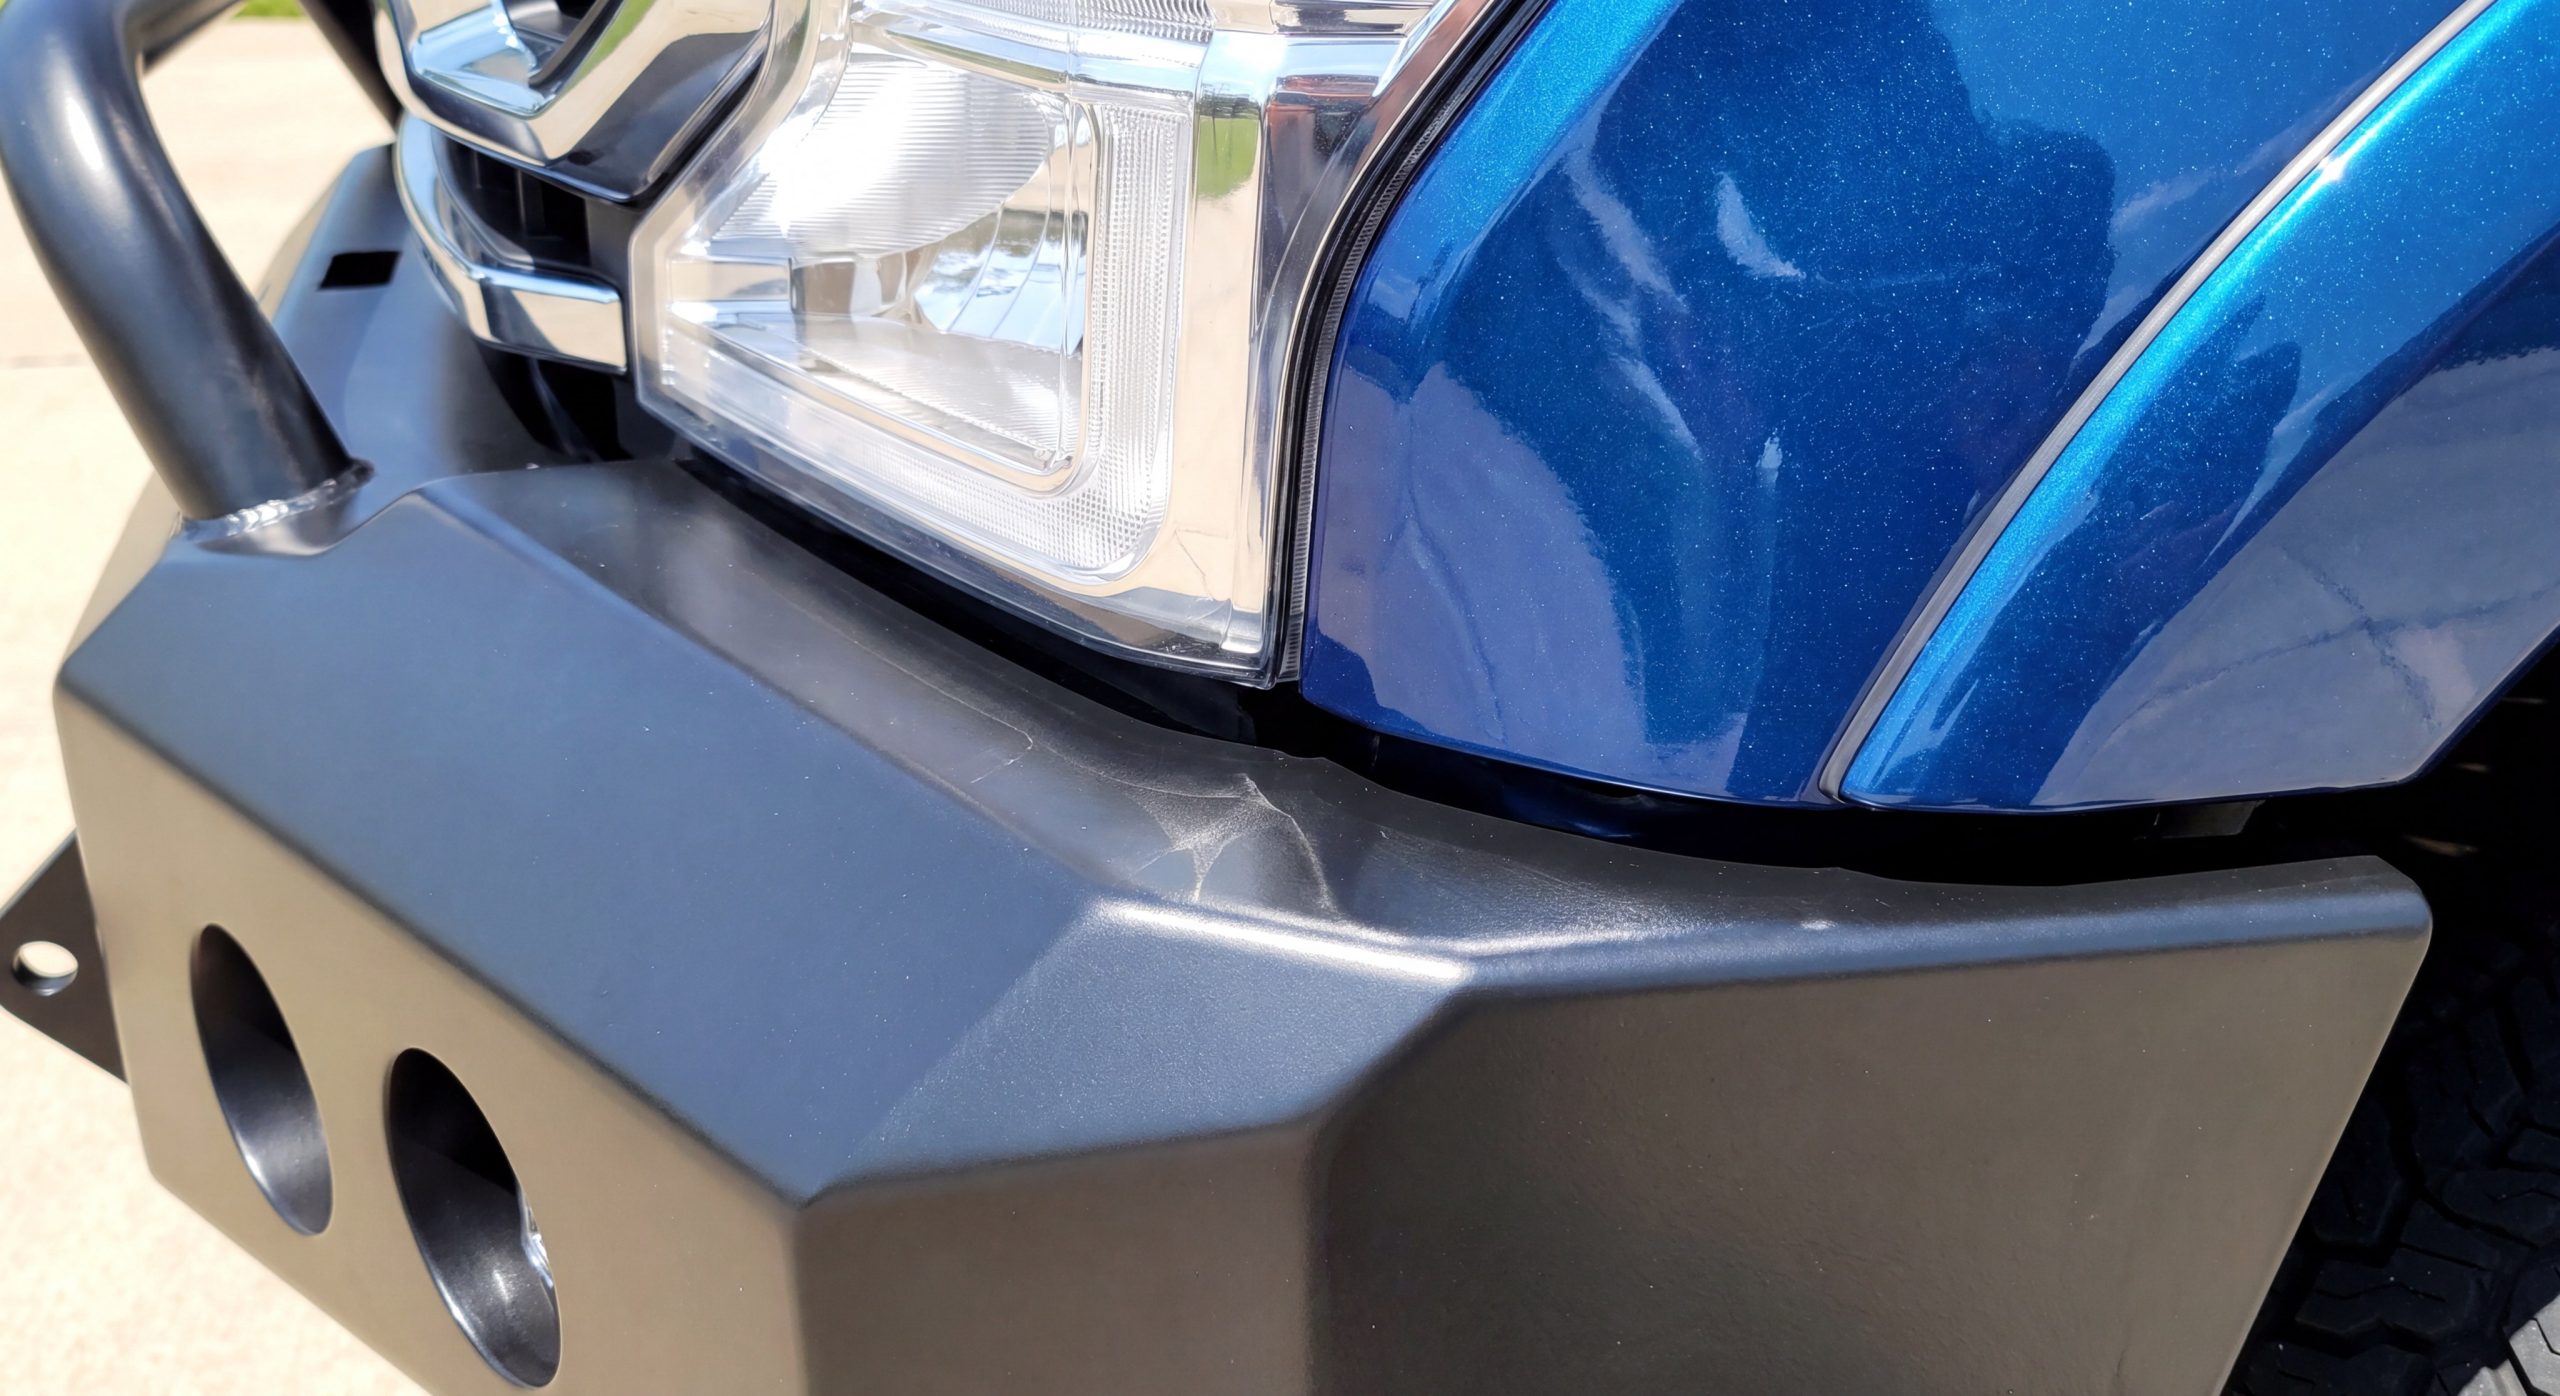
Aligning your truck bumper installation requires checking headlight clearances, ensuring lateral symmetry, and torquing all frame fasteners to their final specifications. Proper alignment ensures a clean, symmetrical appearance.
You must adjust the bumper’s positioning while the mounting bolts are snug but not fully locked. Achieving a perfectly level installation prevents body panels from rubbing when your truck frame flexes off-road. Symmetrical spacing on both sides of the vehicle ensures a clean, professional finish.
Why Check Headlight Gaps?
You should maintain at least a half-inch gap between the top of the bumper and your truck’s headlights. If you mount the bumper too close, off-road chassis twisting can cause the steel to strike and shatter your headlight assemblies.
Here is the catch:
An uneven gap not only looks unprofessional but also risks physical damage during heavy fleet operations. Settle the bumper evenly before tightening.
Torquing the Frame Fasteners
You must use a calibrated torque wrench to tighten all bracket and frame bolts to their recommended torque values. Refer to the manufacturer’s specification chart to avoid over-stretching the high-grade hardware.
- Torque main M16 frame bolts to 280-300 Nm.
- Torque bumper bracket bolts to 200-220 Nm.
- Tighten in an alternating crisscross pattern.
Key Takeaway: Correctly leveling your bumper and applying the proper torque specs prevents body rubbing, hardware failures, and loose guards on the road.
| Alignment Area | Recommended Clearance | Fastener Torque | Alignment Goal |
|---|---|---|---|
| Under Headlights | 0.5 inches minimum | N/A | Rubbing prevention |
| Frame Horn Mounts | Symmetrical spacing | 280-300 Nm | Structural rigidity |
After fully torquing all fasteners, you must perform a comprehensive final inspection.
How to Inspect Your Truck Bumper Installation?
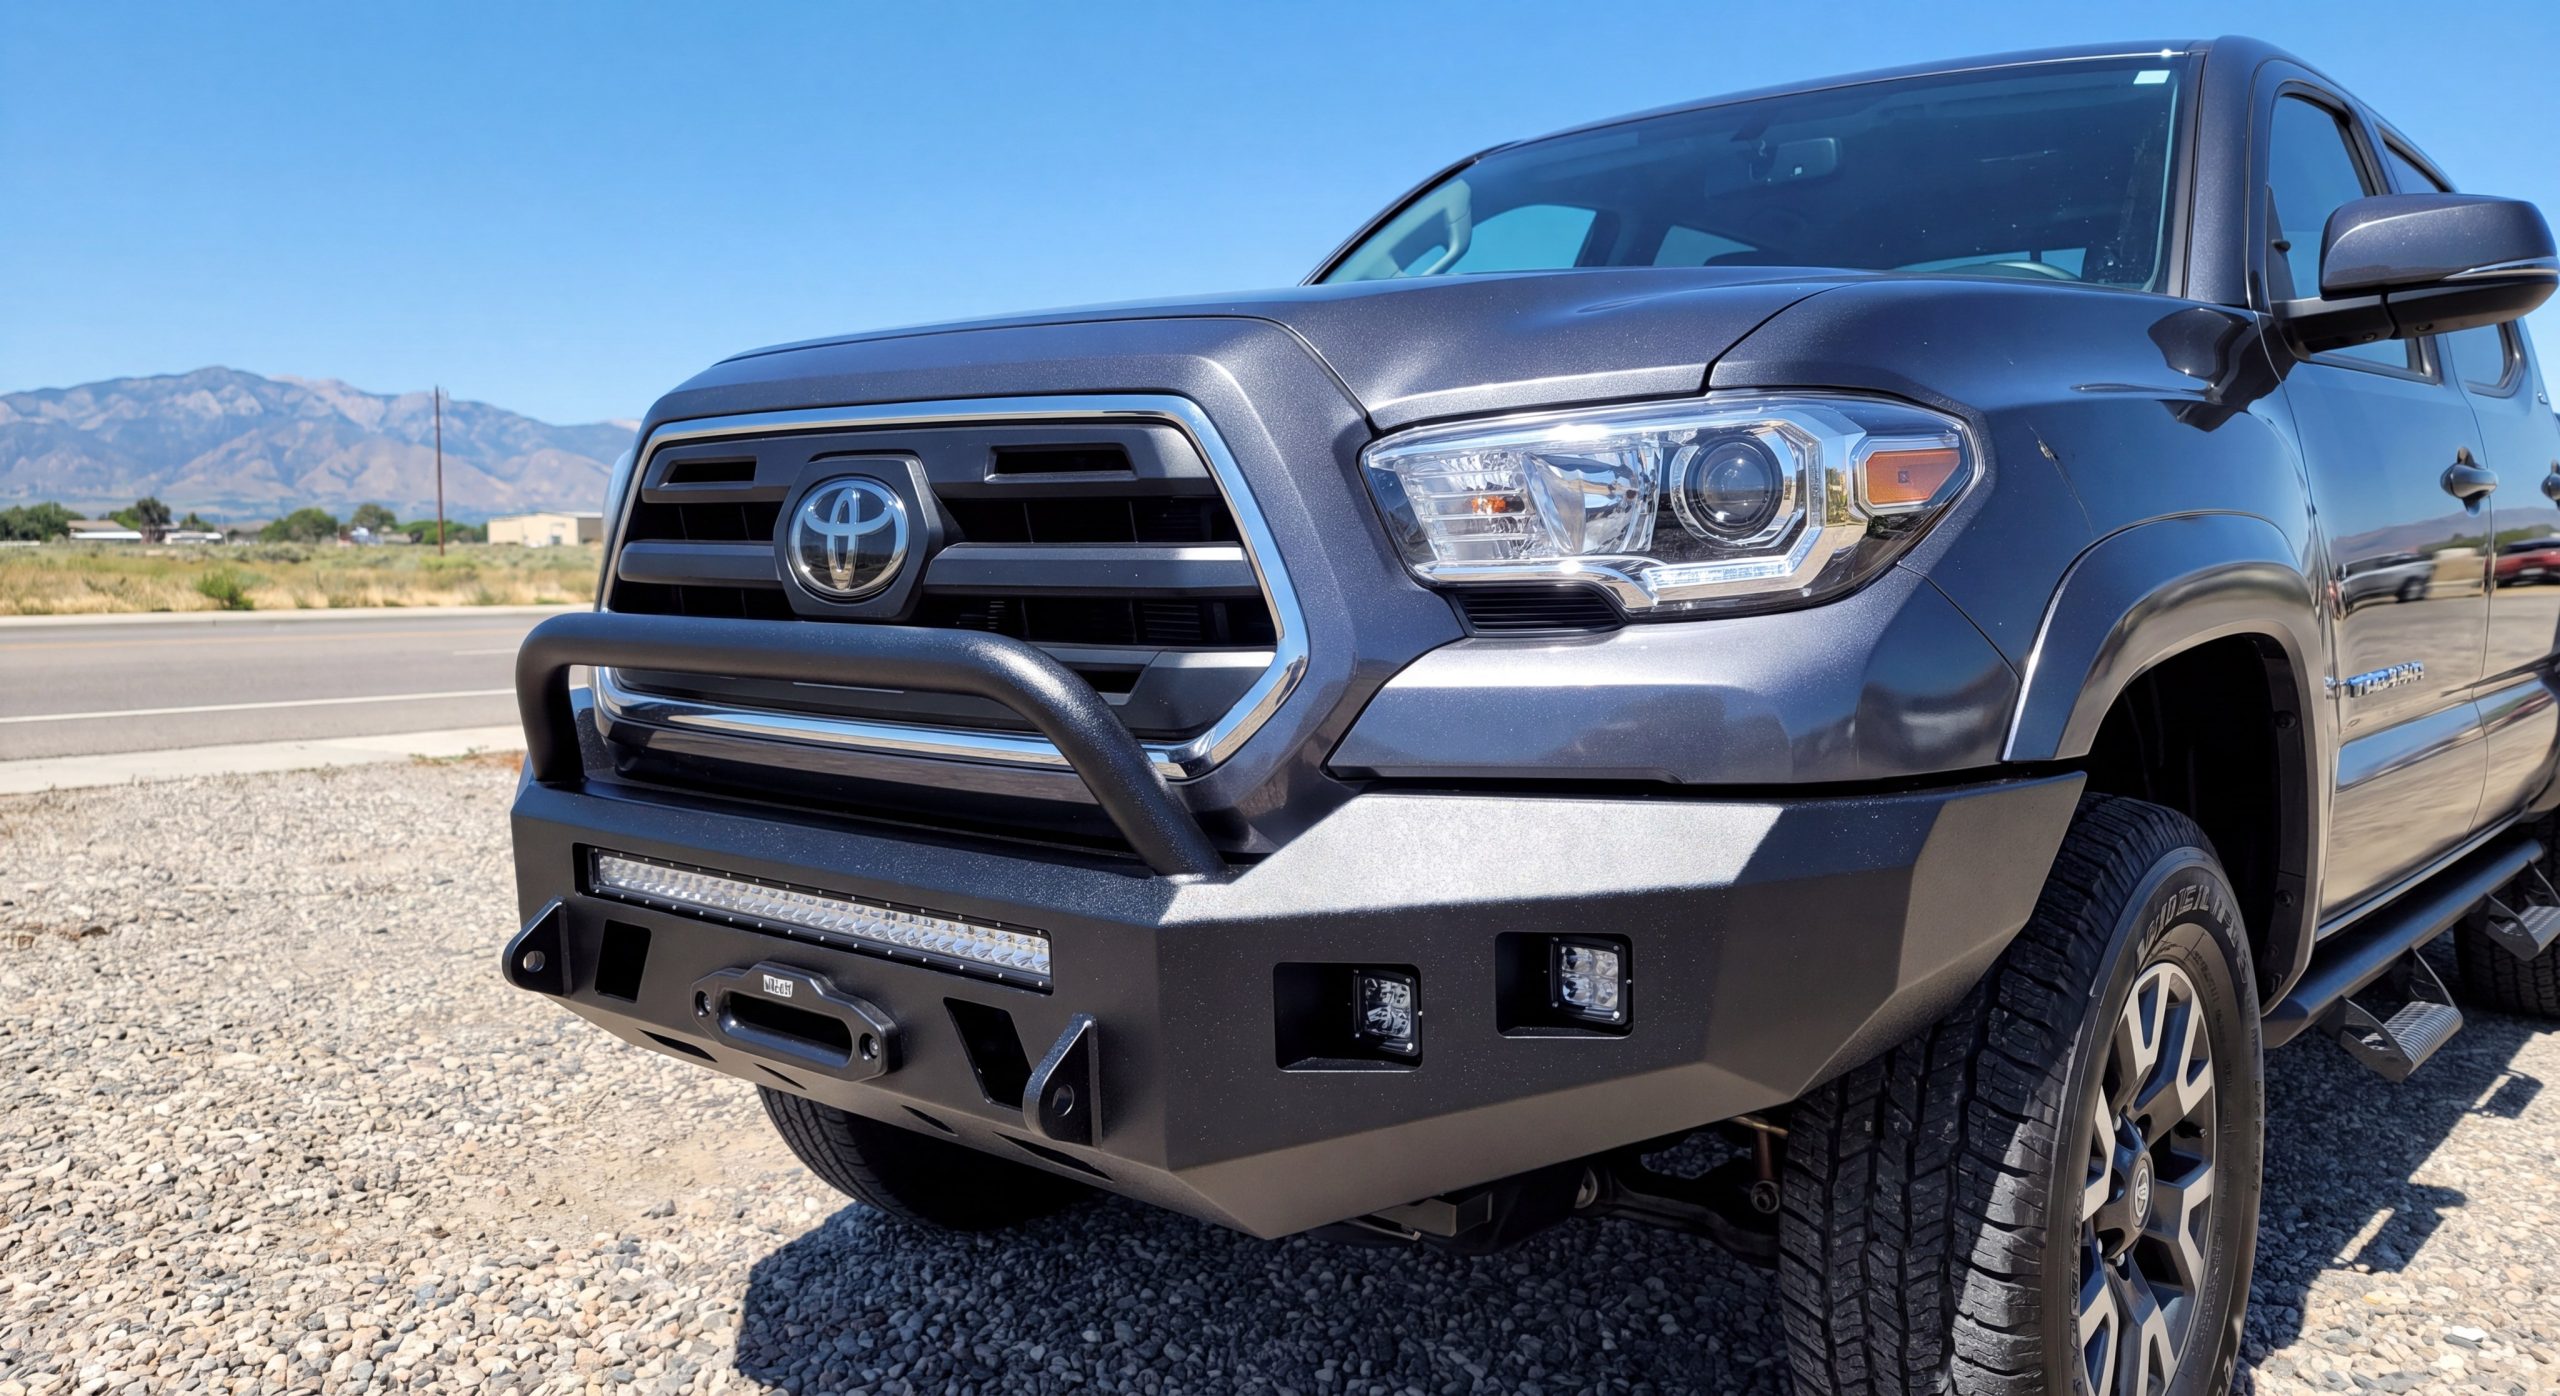
Inspecting your truck bumper installation involves reconnecting the vehicle battery, testing all electrical lights and sensors, and performing a brief vibrational road test. Completing these quality controls ensures your truck is completely ready for any demanding highway or work site mission.
You must verify that your active safety systems operate flawlessly before returning your vehicle to commercial duty. Rushing past the final quality checks can lead to hidden sensor errors or loose hardware. Taking the time to execute a final inspection ensures your truck remains safe, compliant, and ready for work.
How to Validate Proximity Sensors?
You should turn on your truck’s engine and check the dashboard cluster for any active warning lights. Slowly walk in front of the vehicle to trigger the proximity sensors, verifying that the cabin alerts beep normally.
- Verify that front-facing cameras are completely clear.
- Confirm fog lights activate without dashboard errors.
- Test adaptive cruise control sensors on a flat driveway.
Why Perform a Road Test?
You should execute a brief ten-minute test drive on bumpy local roads to expose the bumper to realistic vibrations.
But wait, there is more:
Listen closely for any metallic rattles or wind noise that indicate loose hardware or misaligned brackets. Re-torque all mounting bolts immediately after this test run.
Key Takeaway: Performing thorough electronic tests and a vibrational test drive guarantees that your safety features and structural mountings are completely secure.
| Inspection Step | Testing Procedure | Succeeded Status | Corrective Action |
|---|---|---|---|
| Proximity Test | Proximity obstacle walk | Alert tones activate | Adjust sensor angle |
| Vibrational Test | Short local test drive | No front-end rattles | Re-torque frame bolts |
Once your quality checks are complete, optimizing your fleet’s long-term protection strategy is highly recommended.
Why Plan Your Heavy Truck Bumper Installation?
Planning your truck bumper installation with a certified OEM manufacturer ensures 100% vehicle fitment, premium materials, and severe-condition durability. High-quality construction guarantees that your safety investment survives major impacts.
You will find that mass-produced factory guards lack the heavy-gauge steel construction needed to survive remote, wildlife-prone logging routes. Partnering with a specialized manufacturer provides custom-engineered solutions tailored specifically for North American truck platforms. Investing in certified quality safeguards your fleet and maximizes your operational uptime.
What Are OEM Manufacturing Benefits?
You gain access to multi-stage laboratory testing and AWS-certified welding when you choose an industry-leading B2B manufacturer. Precision laser cutting and CNC bending ensure that every mounting slot matches your vehicle’s frame horns with zero deviation.
- Guaranteed 100% vehicle fitment through precision CMM verification.
- High-strength steel and aluminum alloys built to withstand collisions.
- Fast, reliable lead times for large-scale commercial fleet programs.
Why Standardize Your Fleet?
Standardizing your commercial vehicles with heavy-duty guards simplifies overall maintenance and reduces collision-related downtime across your entire operation.
Think about it:
A single standardized design allows your fleet mechanics to master the installation process quickly, reducing repair hours. This consistency protects your brand’s bottom line and keeps your trucks on the road longer.
Key Takeaway: Partnering with an ISO-certified OEM manufacturer guarantees perfect bracket alignment, outstanding impact resistance, and unmatched fleet reliability.
| Fleet Program | Fabrication Standard | Fitment Metric | Core Benefit |
|---|---|---|---|
| Custom OEM | AWS Certified Welds | ±0.5mm CMM tolerance | Zero frame damage |
| Off-Road Pickup | Heavy-gauge Steel | Direct bolt-on design | Maximum durability |
Understanding these high manufacturing standards helps you make the right B2B procurement decisions for your operations.
Elevate Your Vehicle Protection Today
Say goodbye to expensive downtime, broken grilles, and fragile factory plastic bumpers. Protect your commercial assets with the ultimate defense designed to absorb heavy impacts without flinching. Built for extreme conditions, engineered for lasting performance—this is our promise to North American fleets. To explore our full range of heavy-duty moose bumpers, grille guards, and custom pickup guards, get in touch with us to receive a custom manufacturing quote tailored to your fleet.
Frequently Asked Questions
Can I perform a truck bumper installation on my own?
No, having at least two assistants or proper shop lifting equipment is highly recommended for safety. Heavy steel guards can weigh several hundred pounds, making manual solo lifting extremely dangerous and difficult.
What is the best way to prevent bumper corrosion?
The best method is choosing a premium powder-coated or galvanized steel finish that seals the metal from moisture. Regular washing to remove road salts and touching up rock chips immediately will prevent rust from spreading.
How do I know if my parking sensors are correctly aligned?
Your dashboard screen will remain free of warning codes and your cabin will emit clear audio alerts during proximity tests. If a sensor is angled slightly downward, it will falsely detect the road surface as an obstacle.
Can I reuse my factory tow hooks with a heavy-duty bumper?
Yes, most premium aftermarket mounting brackets are designed to slide over your frame rails alongside your factory tow hooks. Always refer to your product specifications to verify hardware compatibility before tightening.